Integrated into our videoconferencing systems (VCS) in rooms B1.3.22 and B1.3.40 is the possibility to use Skype on the built-in computer, a Mac mini. This Mac mini has copies of Microsoft Office and Apple iWork installed, so PowerPoint or Keynote presentations should work. A PDF and general-purpose image viewer called Preview is installed as well.
To use Skype, do the following:
Turn on the iPad control panel by pressing the Home butten and unlock it by swiping the “Entsperren/unlock” text to the right.
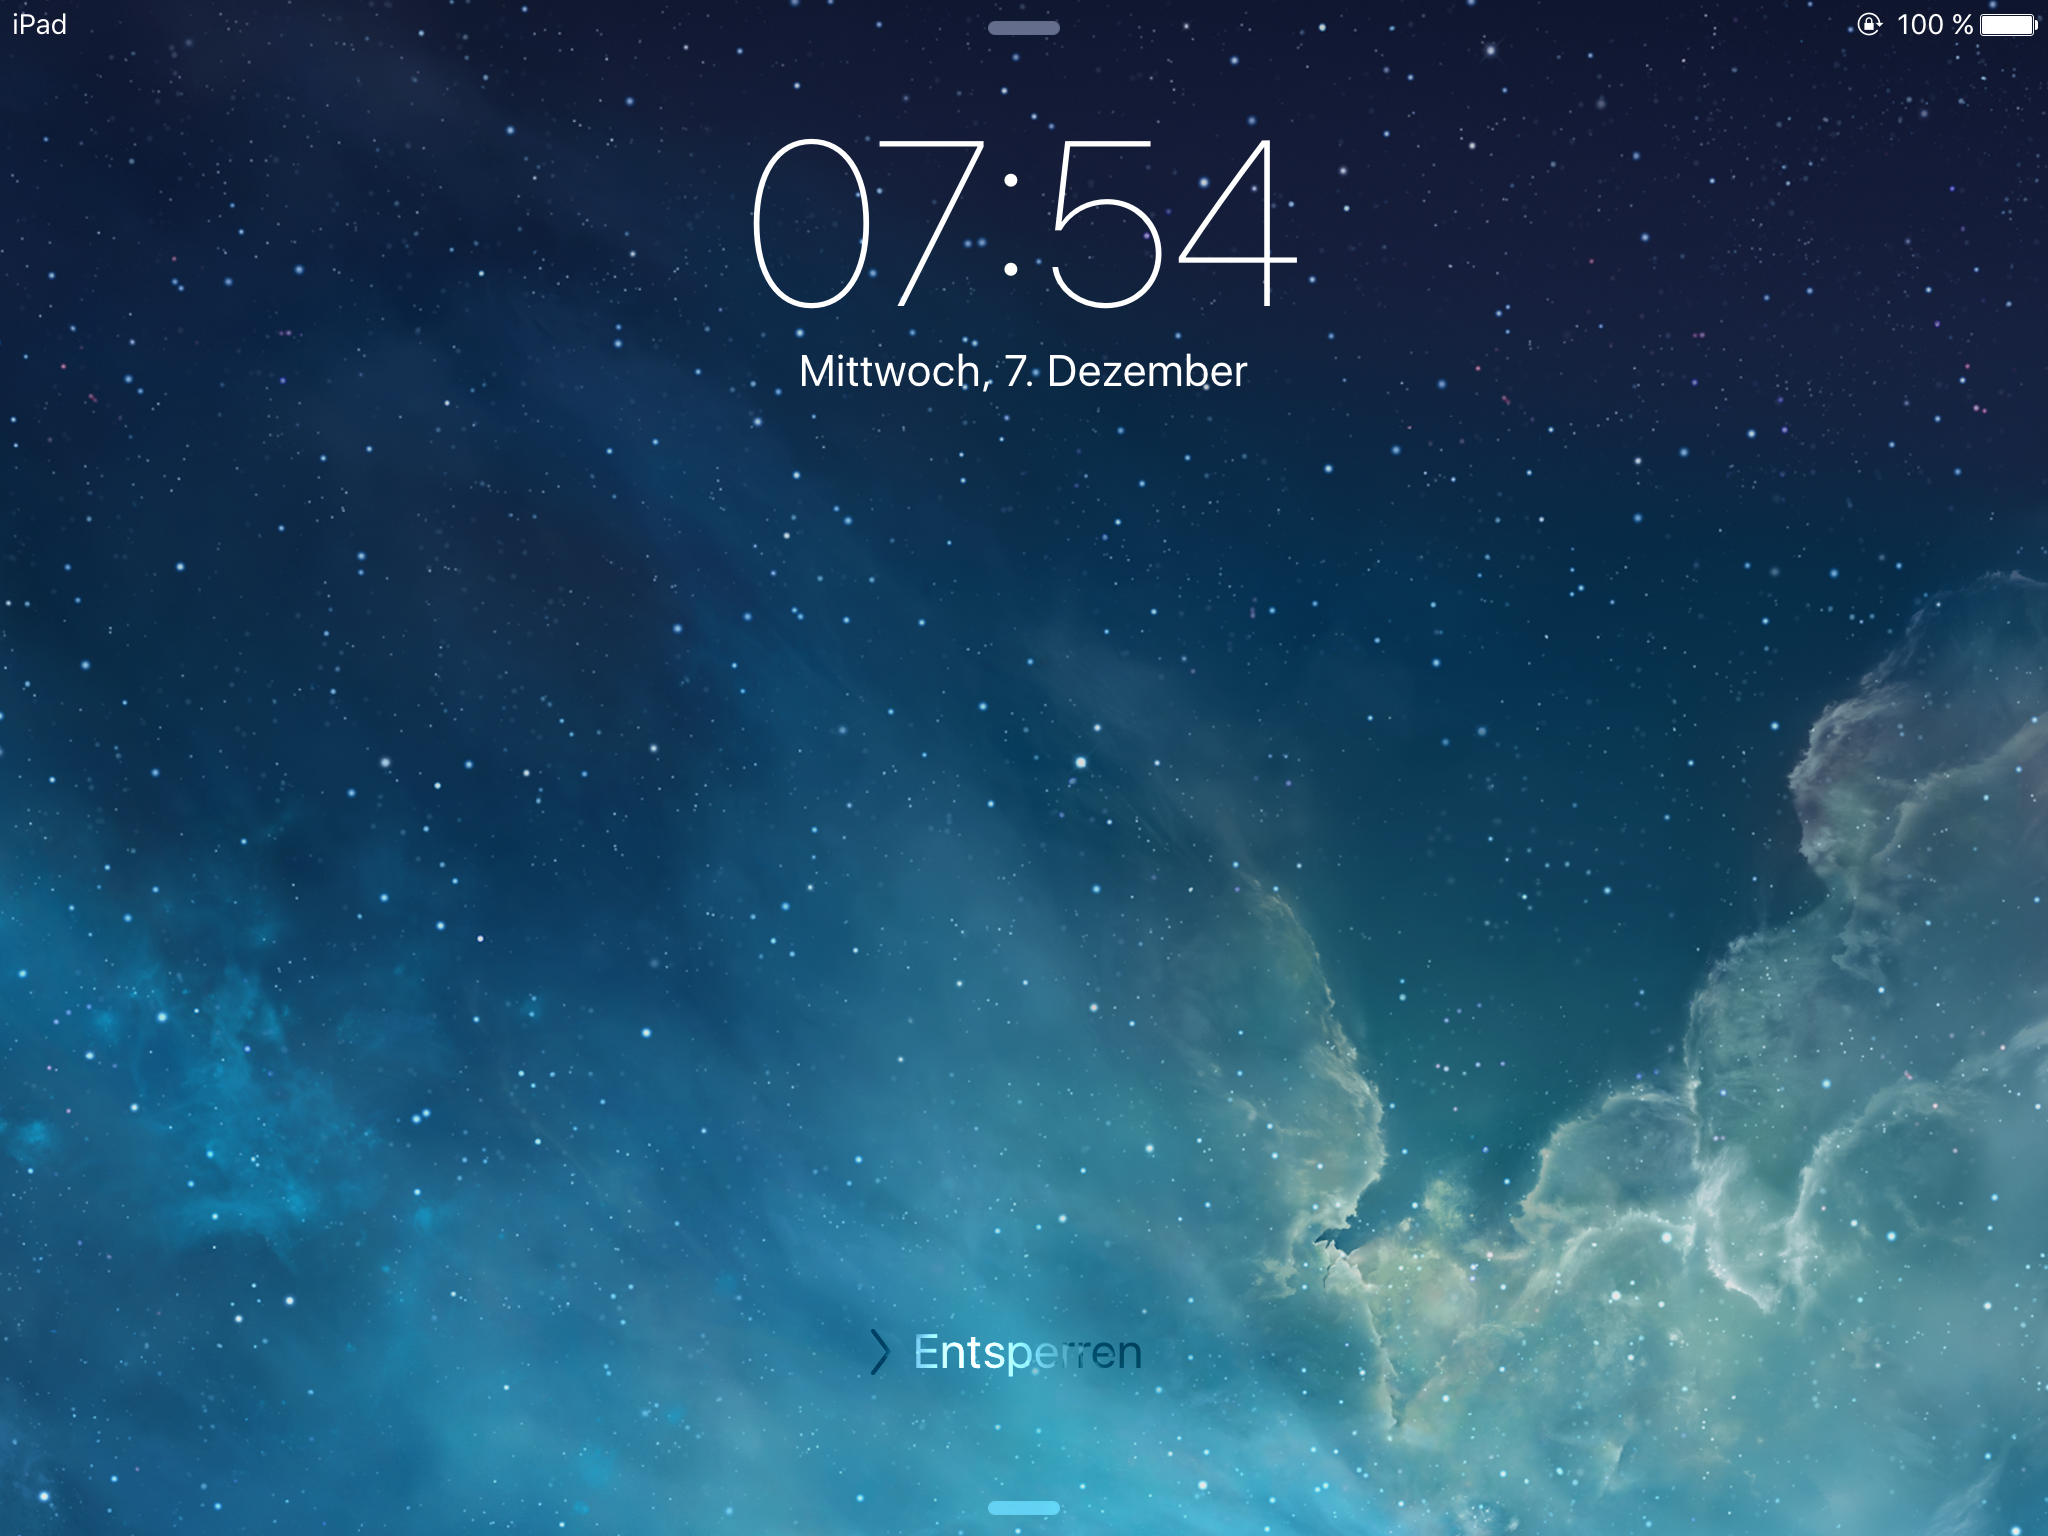
You should see a screen like this:
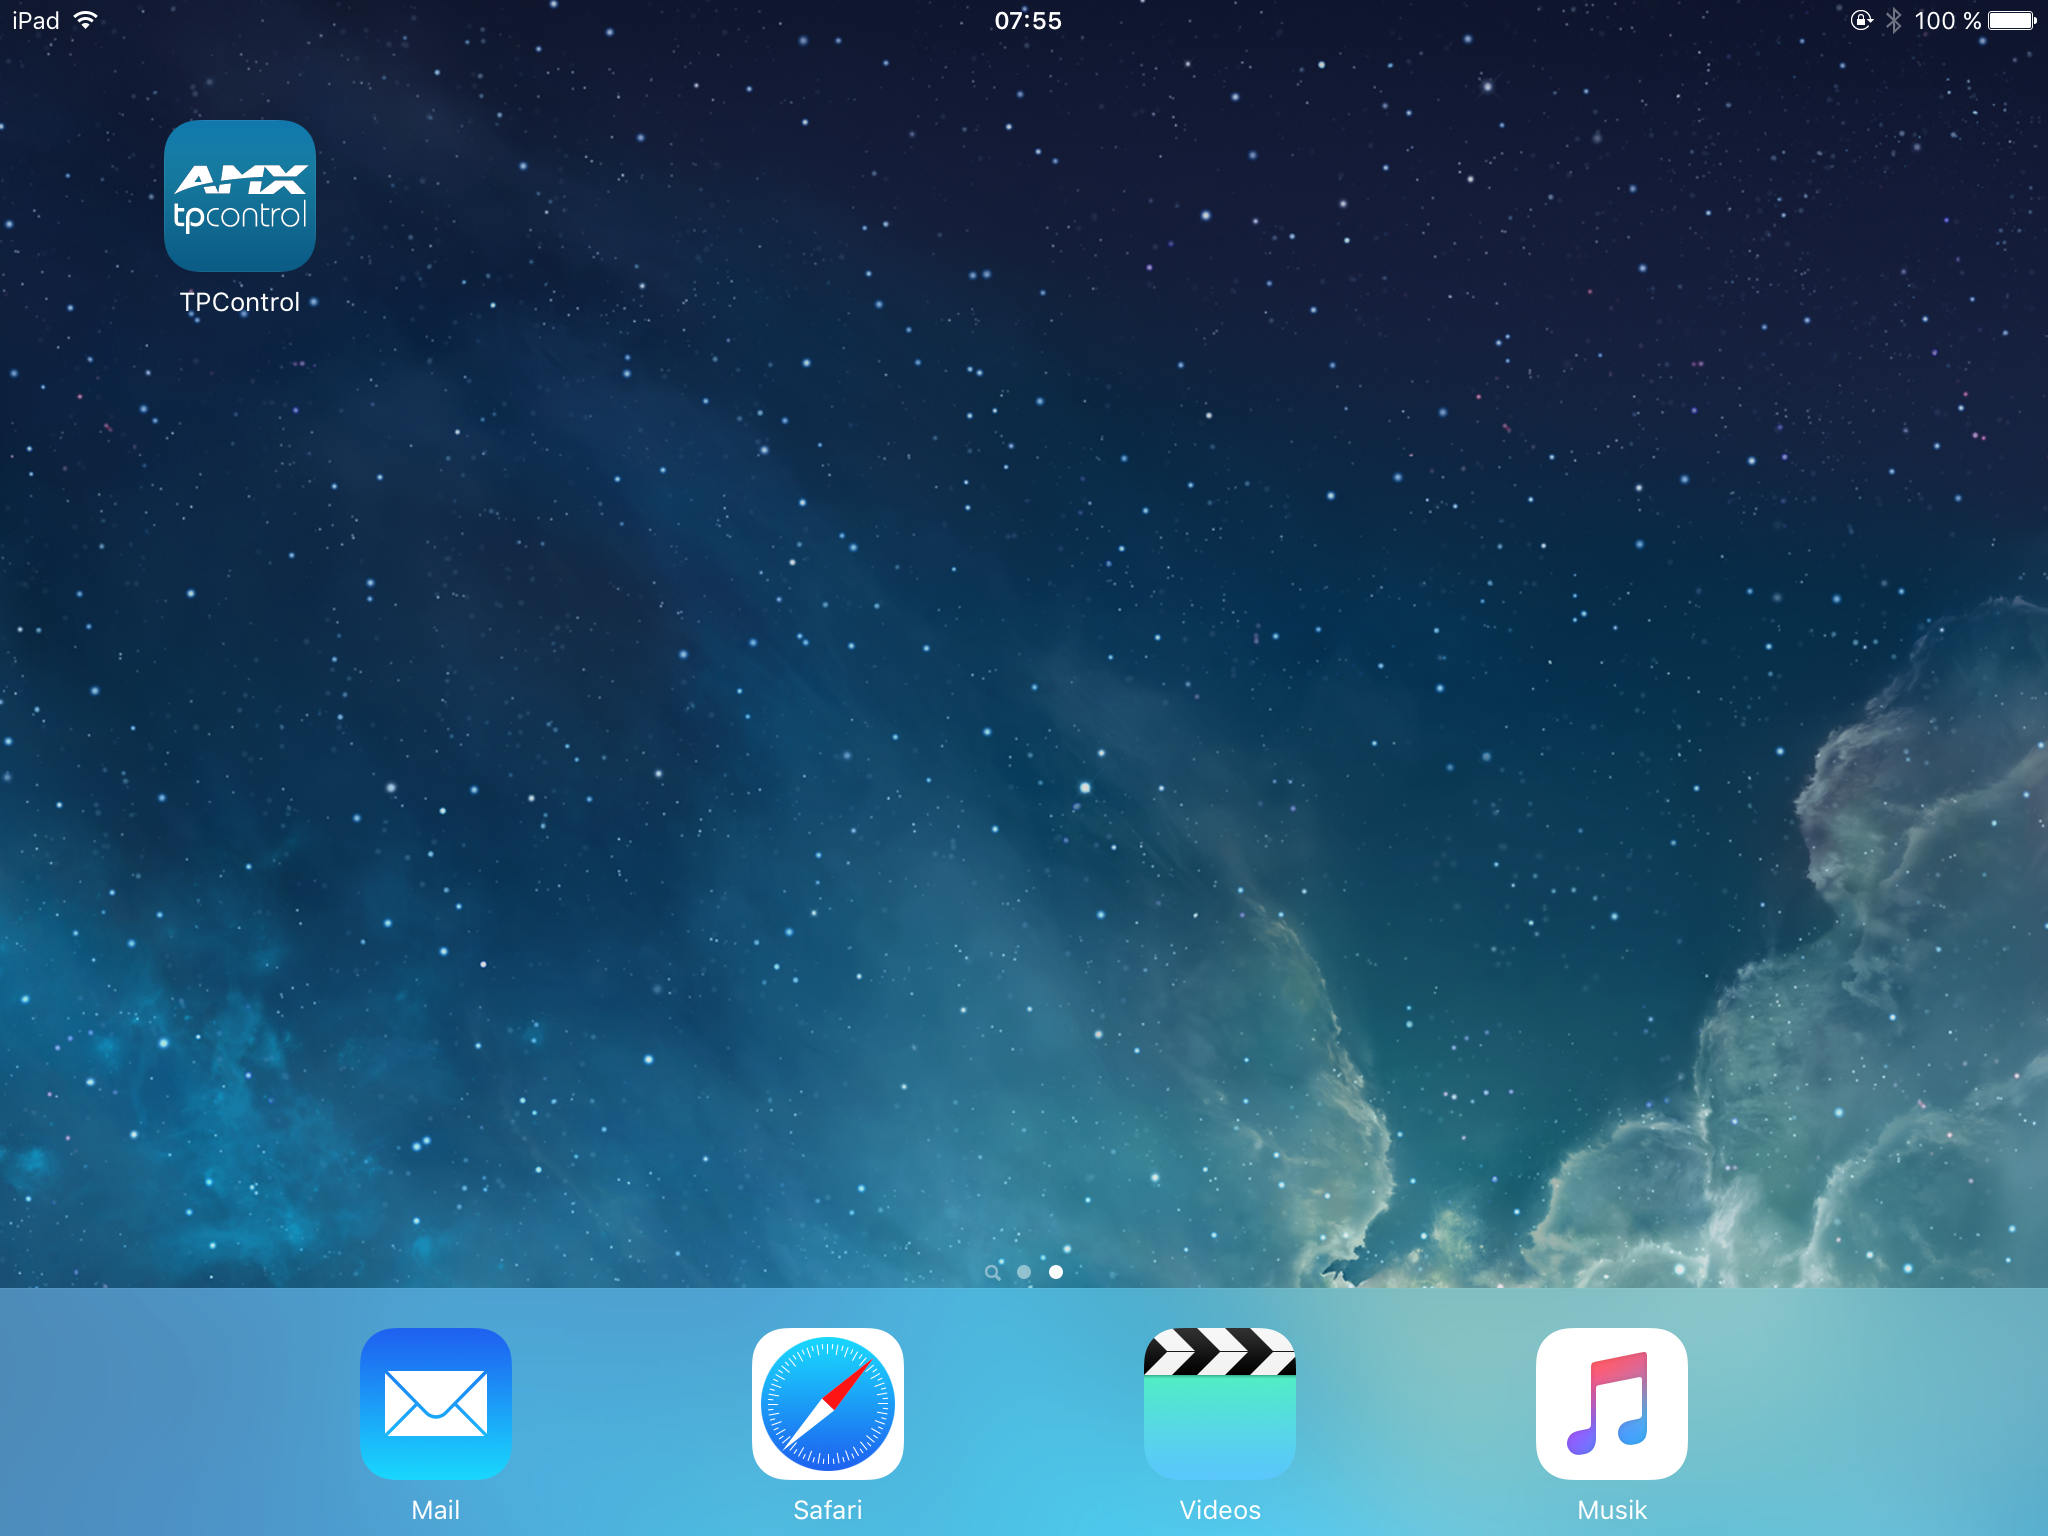
If not, click the Home button and swipe to the right. A tap onto the “TPControl” icon activates the control software.
After the software is loaded, you should see a screen like this:

If additionally a red rectangle is displayed with the text NOT CONNECTED for more than five seconds, turn WiFi off and on again on the iPad: Tap the Home button, swipe upwards from the bottom of the screen to display Control Center, tap the WiFi button, wait a few seconds until WiFi is off, tap the WiFi button again. Swipe Control Center downwards and tap “TPControl” again, the red rectangle should disappear. If not: Contact me.
After the VCS has started, you should see a display like this:
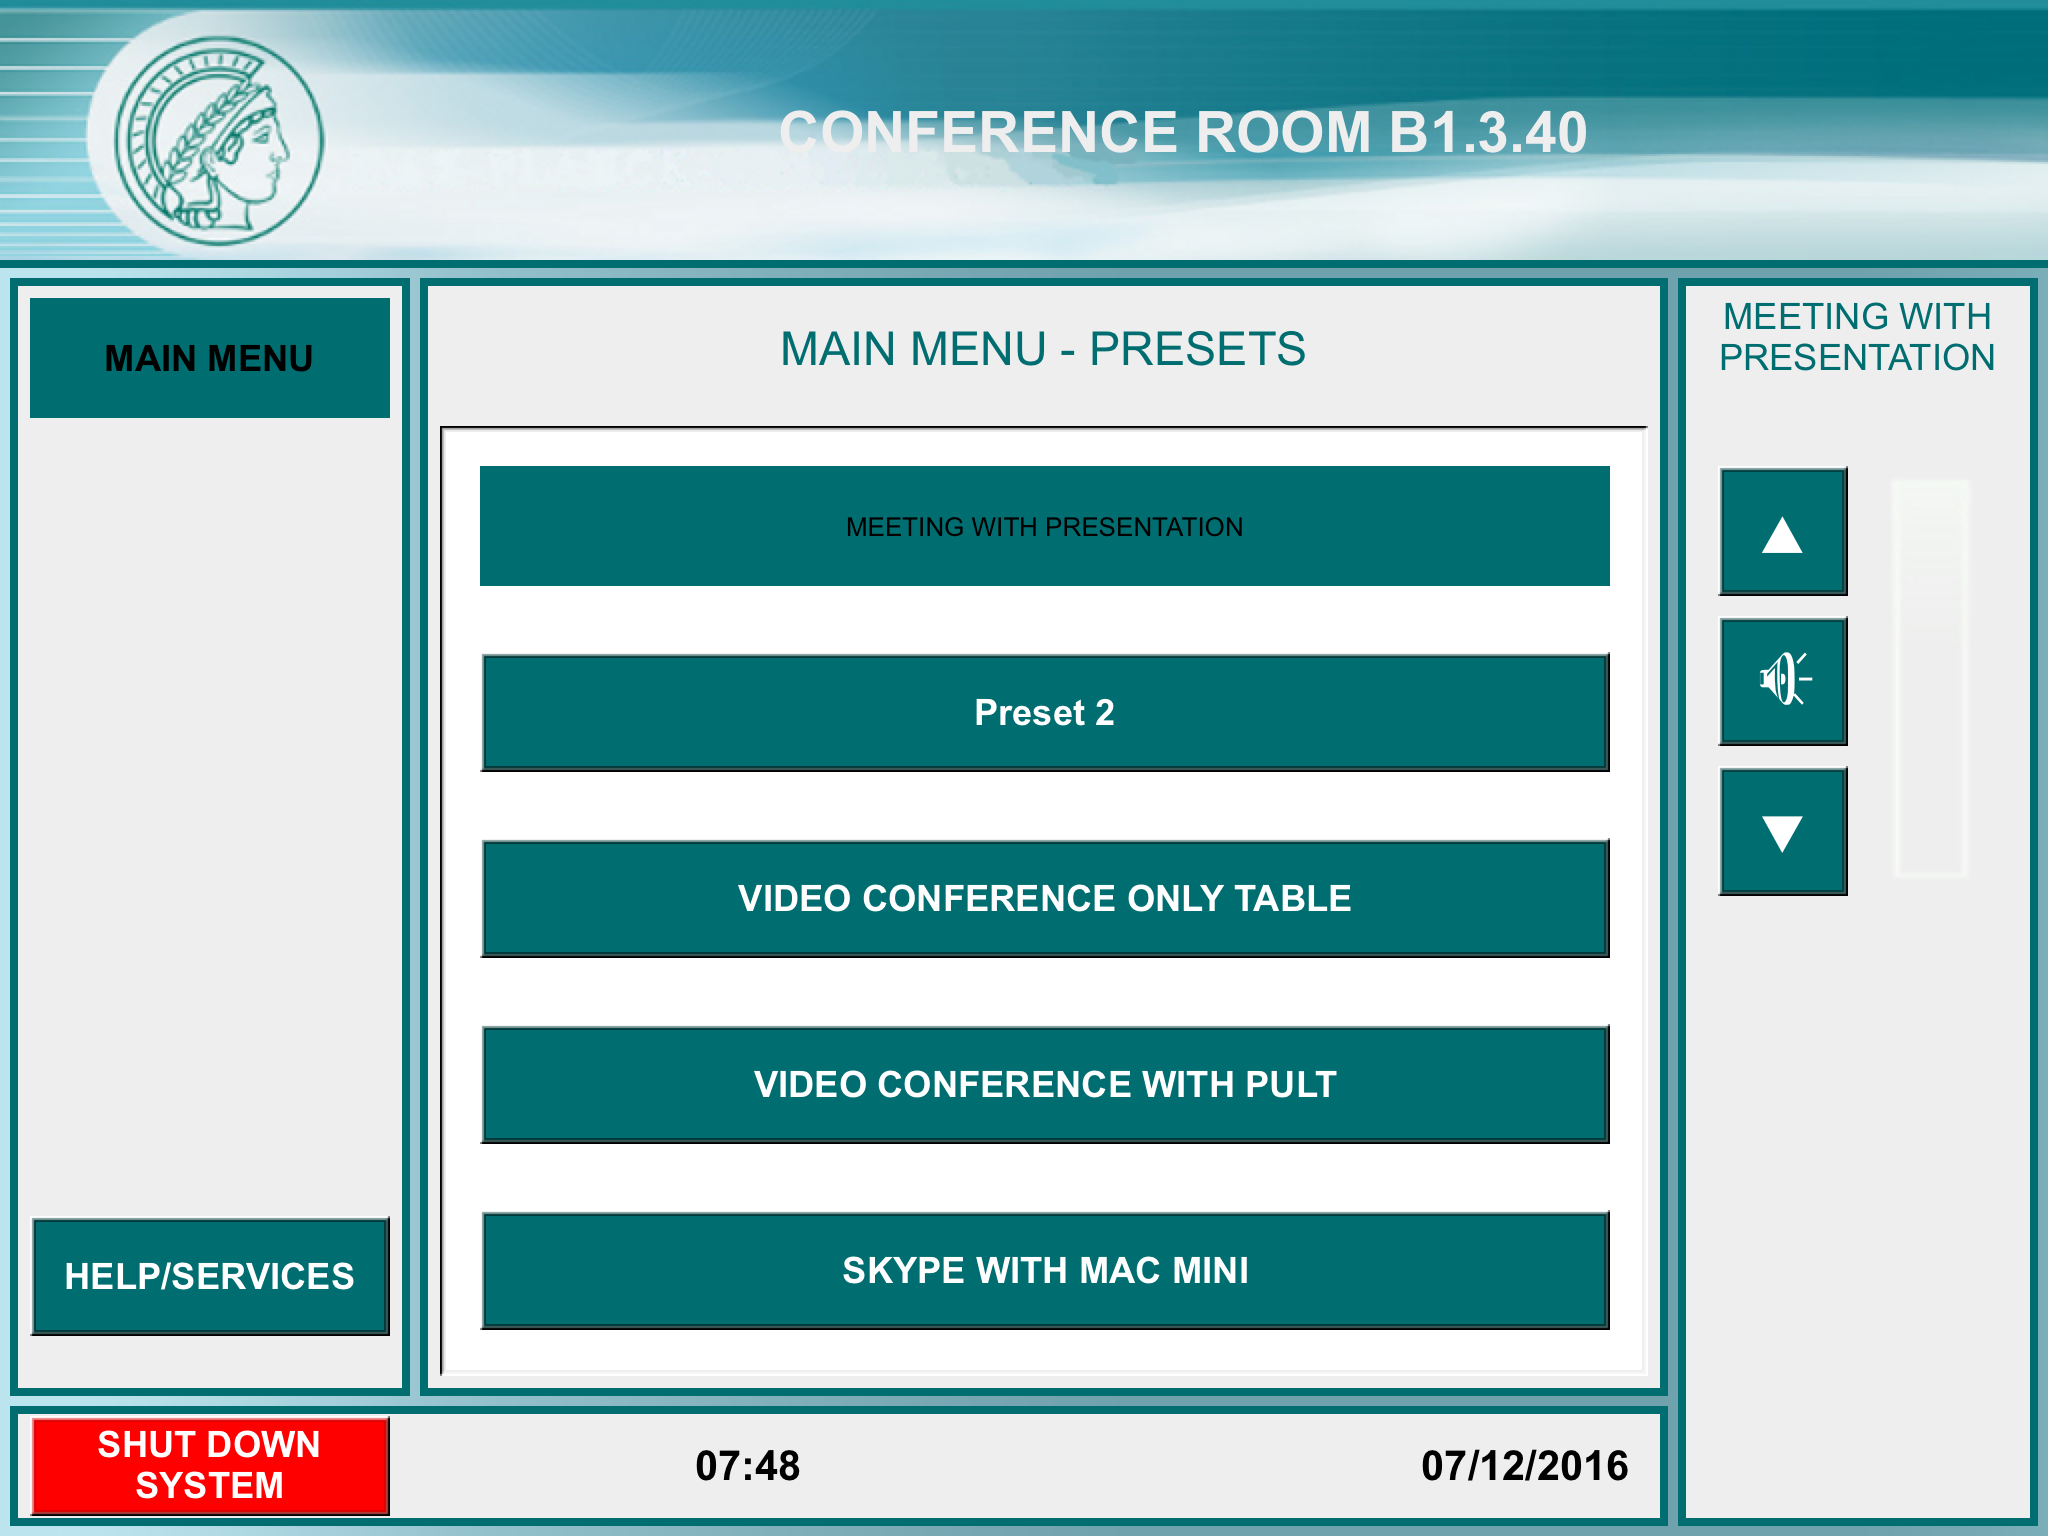
In the middle, select what you want to do with the VCS (the mode selected last time is displayed with black text):
- Meeting with presentation - The VCS is used as an expensive presentation device, videoconferencing is disabled.
- Preset 2 - Unused.
- Video conference only table - Videoconferencing is active using the camera on top of the large monitor.
- Video conference with pult - Videoconferencing is active using the camera on the opposite of the large monitor. (Open the respective cupboard in room B1.1.40.) The small display on top of the camera displays the far end as soon as a connection is established.
- Skype with Mac mini - That’s what we are aiming for. Tap this button to put the VCS in this mode.
When in Skype mode, the display on the iPad looks like this:
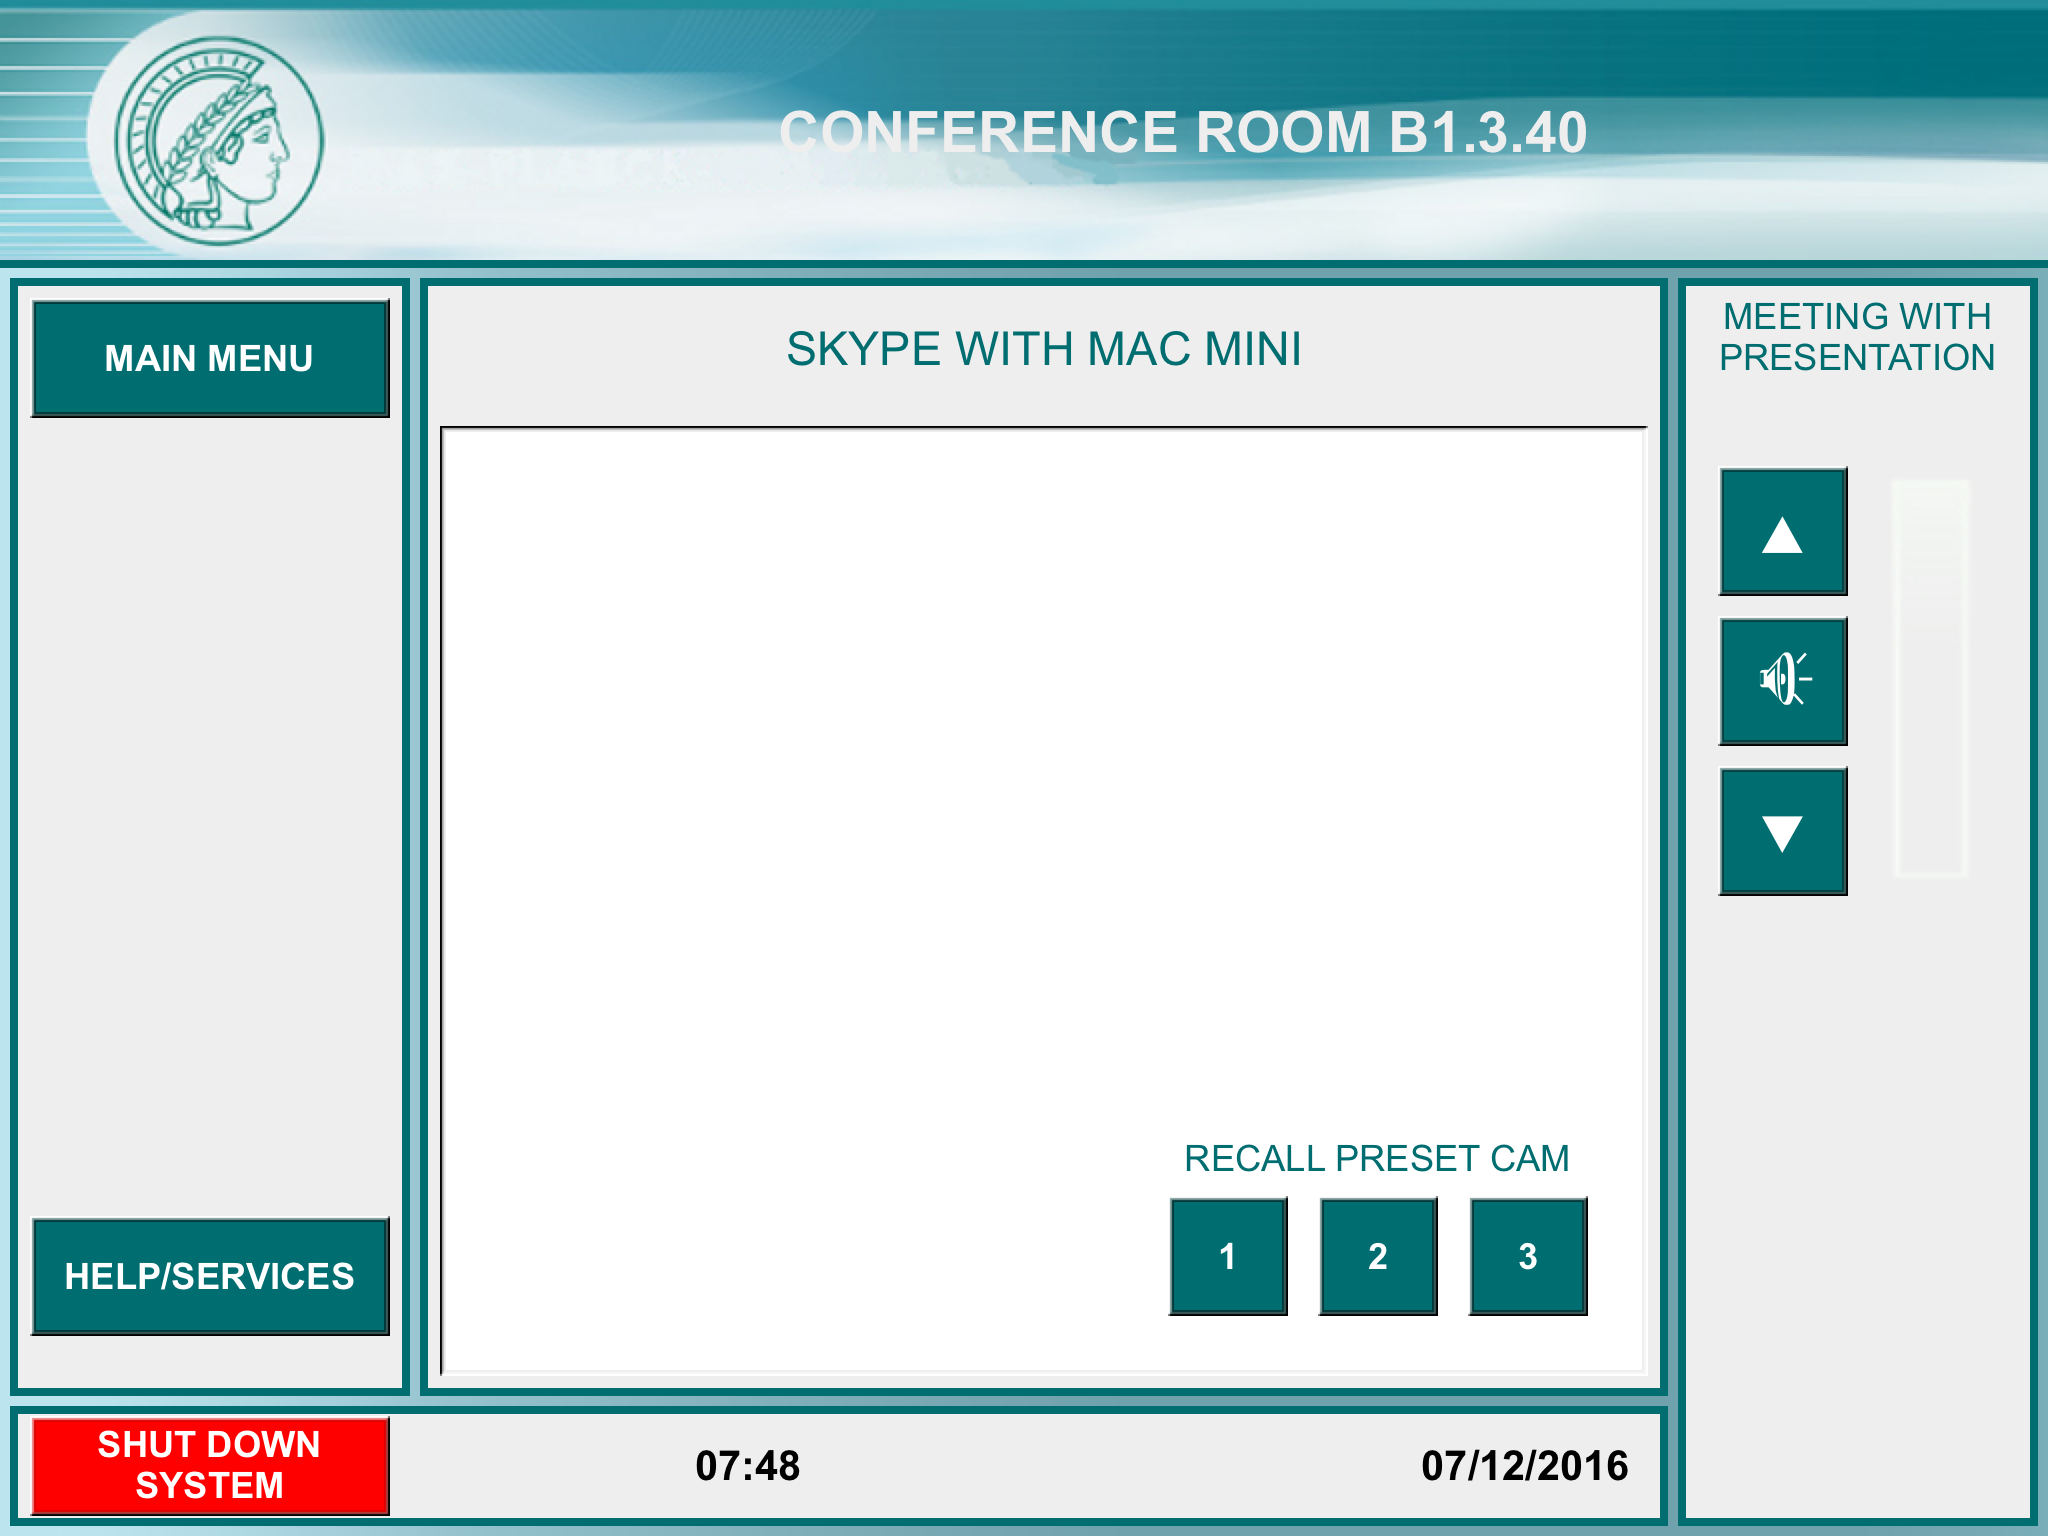
Not much to configure: Three camera presets in the middle (tap the buttons to see what happens later when logged in to Skype), the button column to the right allows for adjusting the audio output volume.
The main monitor now should either display a blue screen (meaning no input signal – the Mac mini is in power saving mode) or a black screen with white text (the Mac mini is in display saving mode) or the login window.
Next, open the front door of the VCS rack, pull out the drawer in the middle and take out keyboard and mouse.
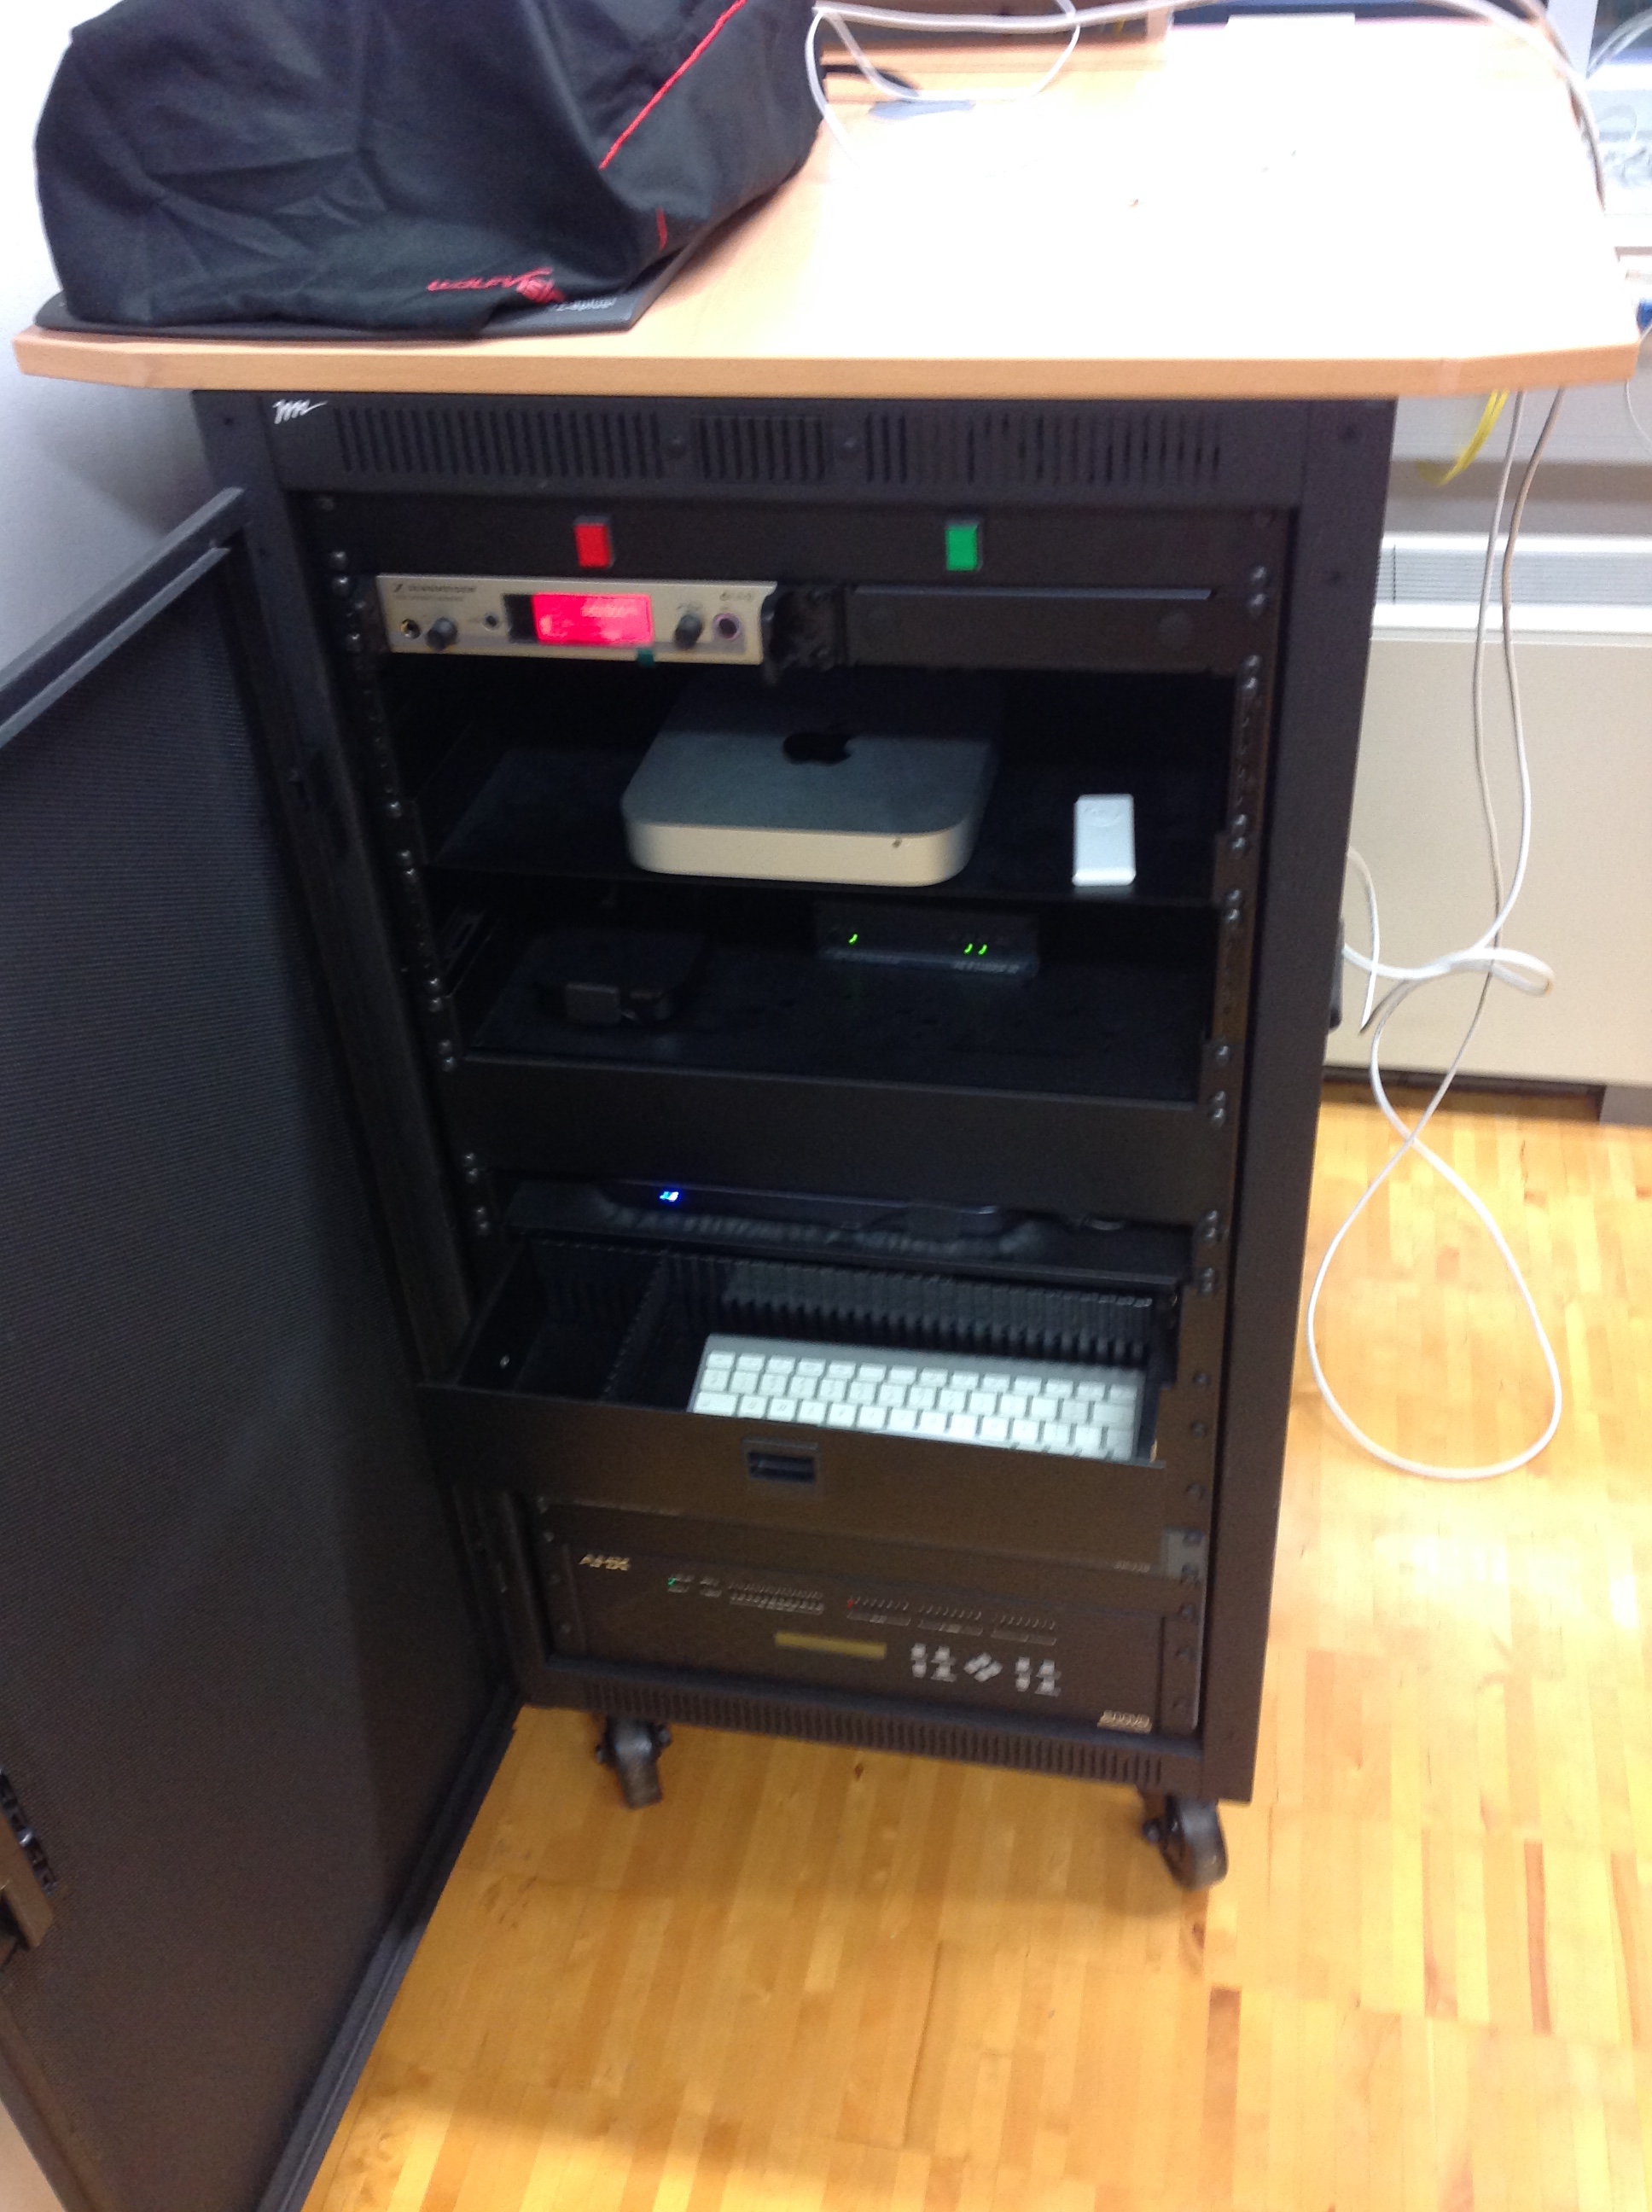
Above the drawer you see the Mac mini. If it’s not turned on – indicated by a little white light spot at the top right of the front which is either constantly on or slowly blinking –, turn it on by pressing the power button located at the right backside corner.
On the backside of the mouse you see a little switch.
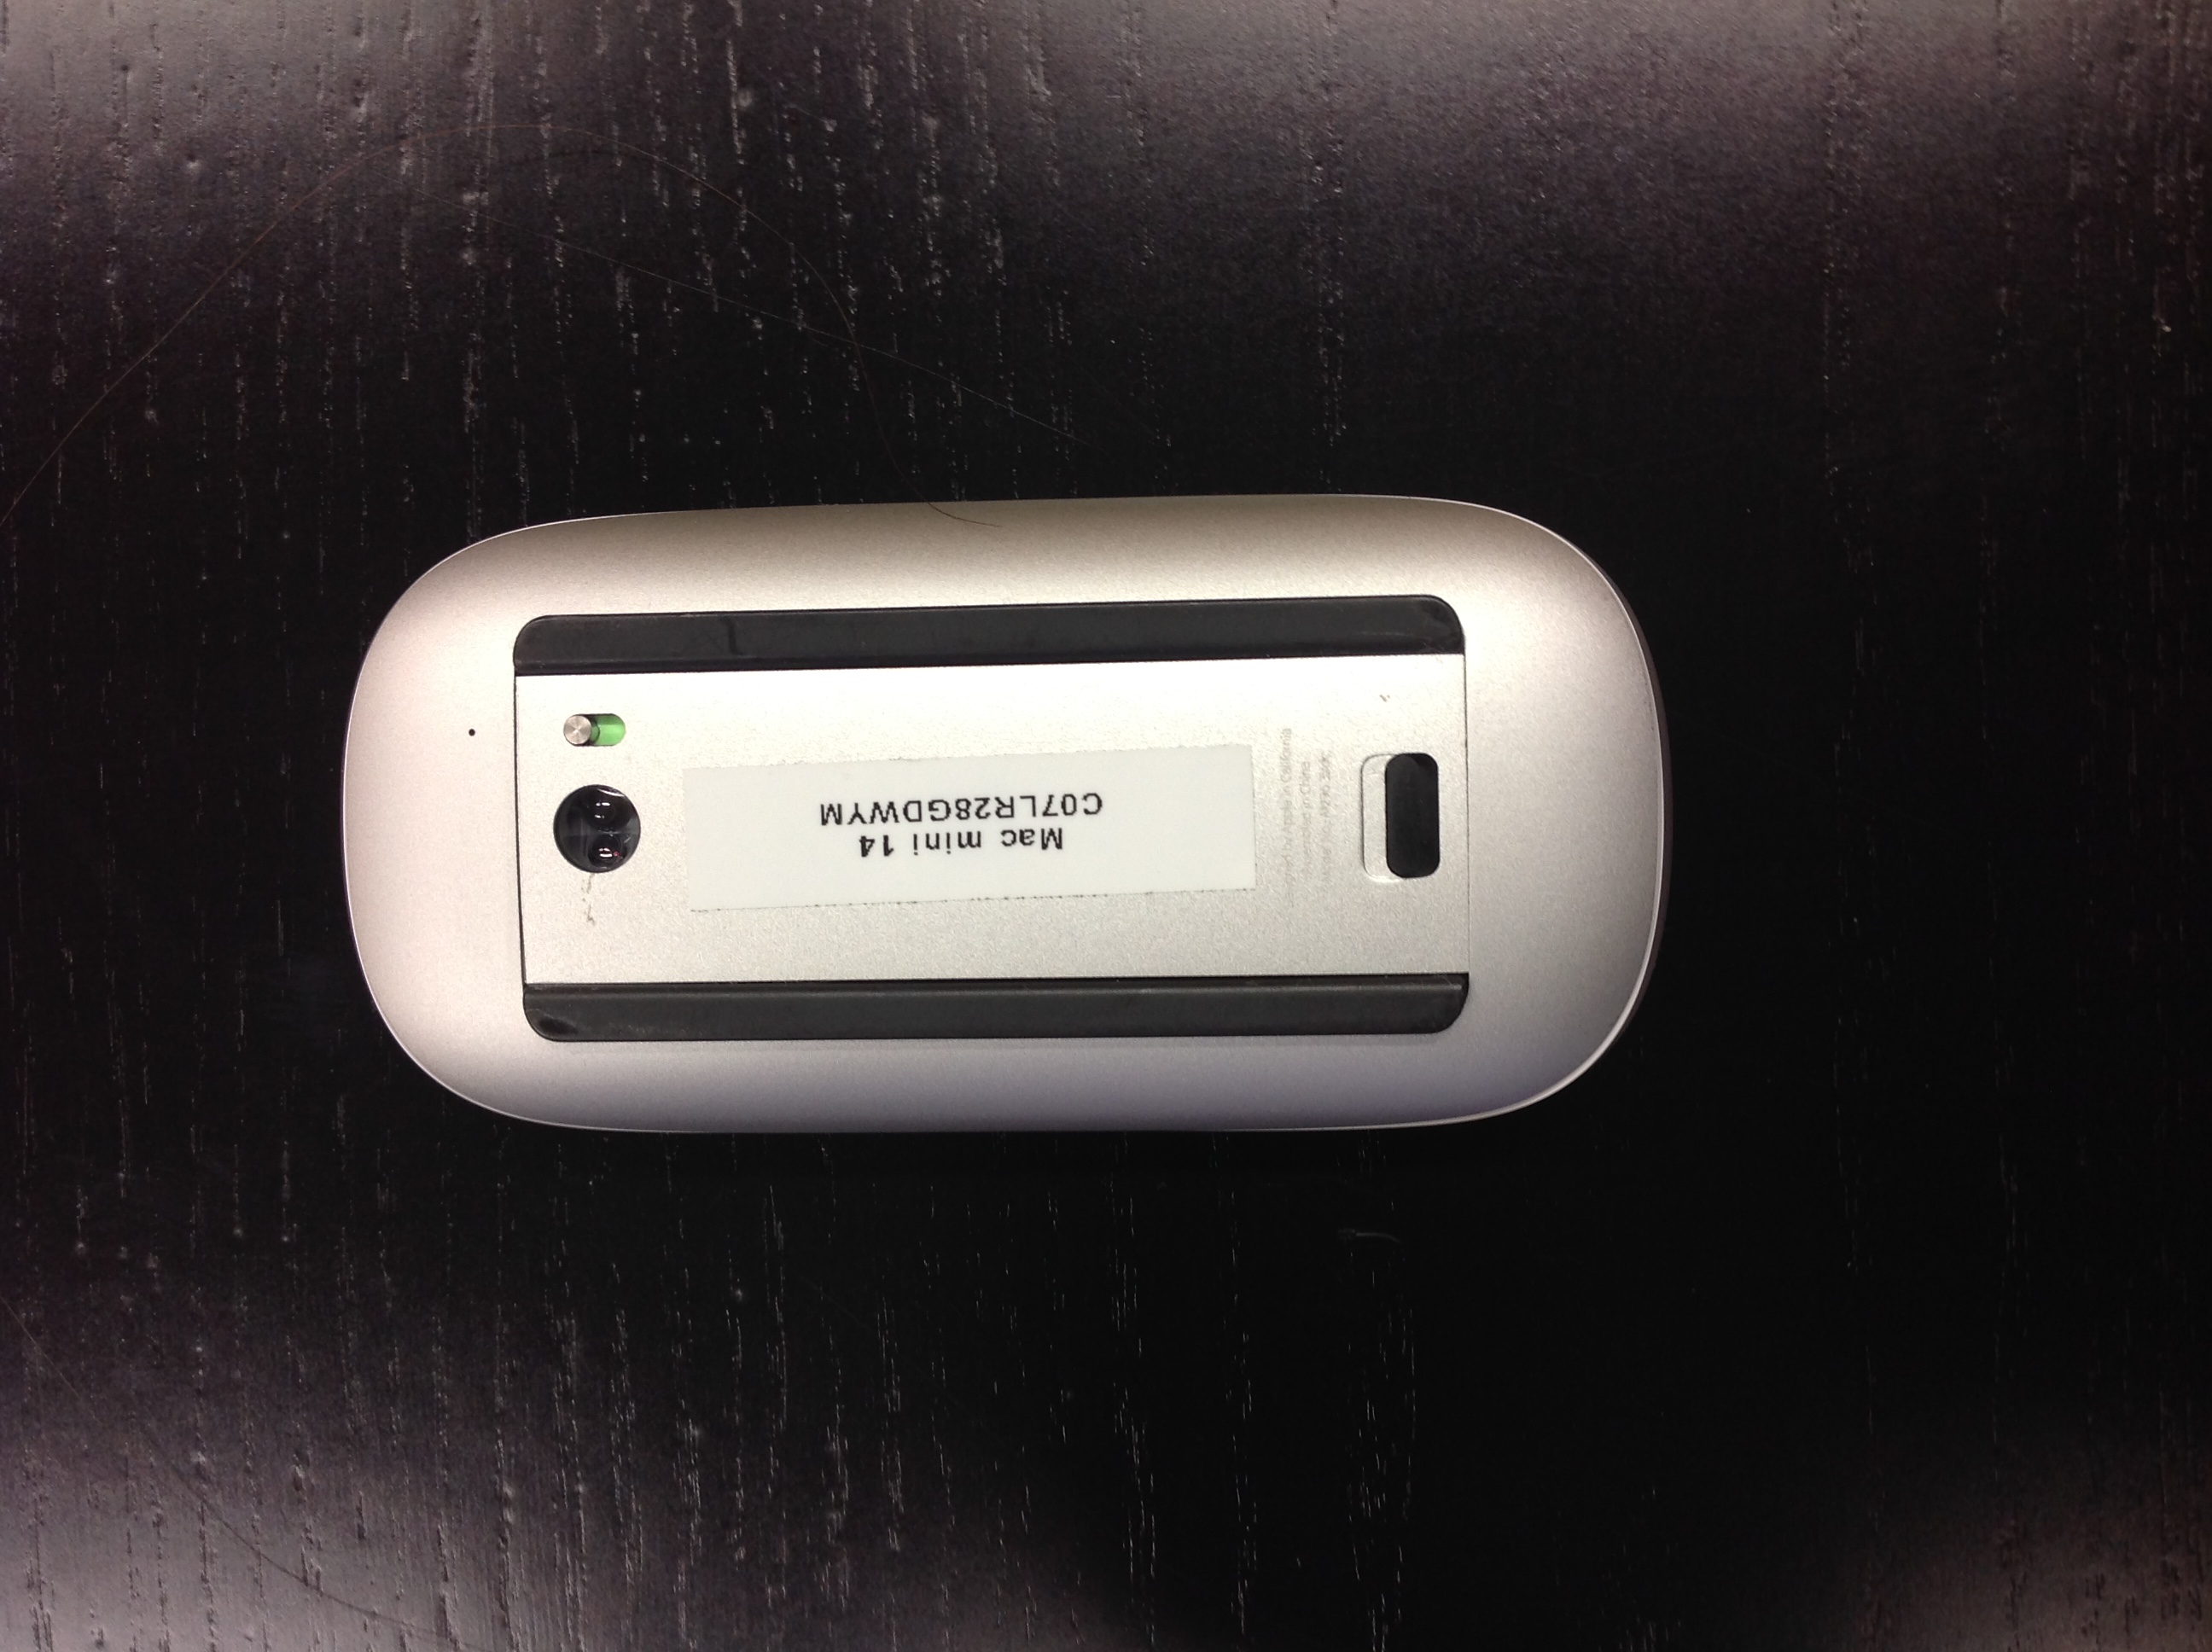
Turn on the mouse by sliding the switch “up” such that the little green field becomse visible like above. Turn the mouse back and click once. This will pair the mouse with the Mac mini (which will turn on in case it was in energy saving mode.)
The keyboard has an on/off button on the right side.
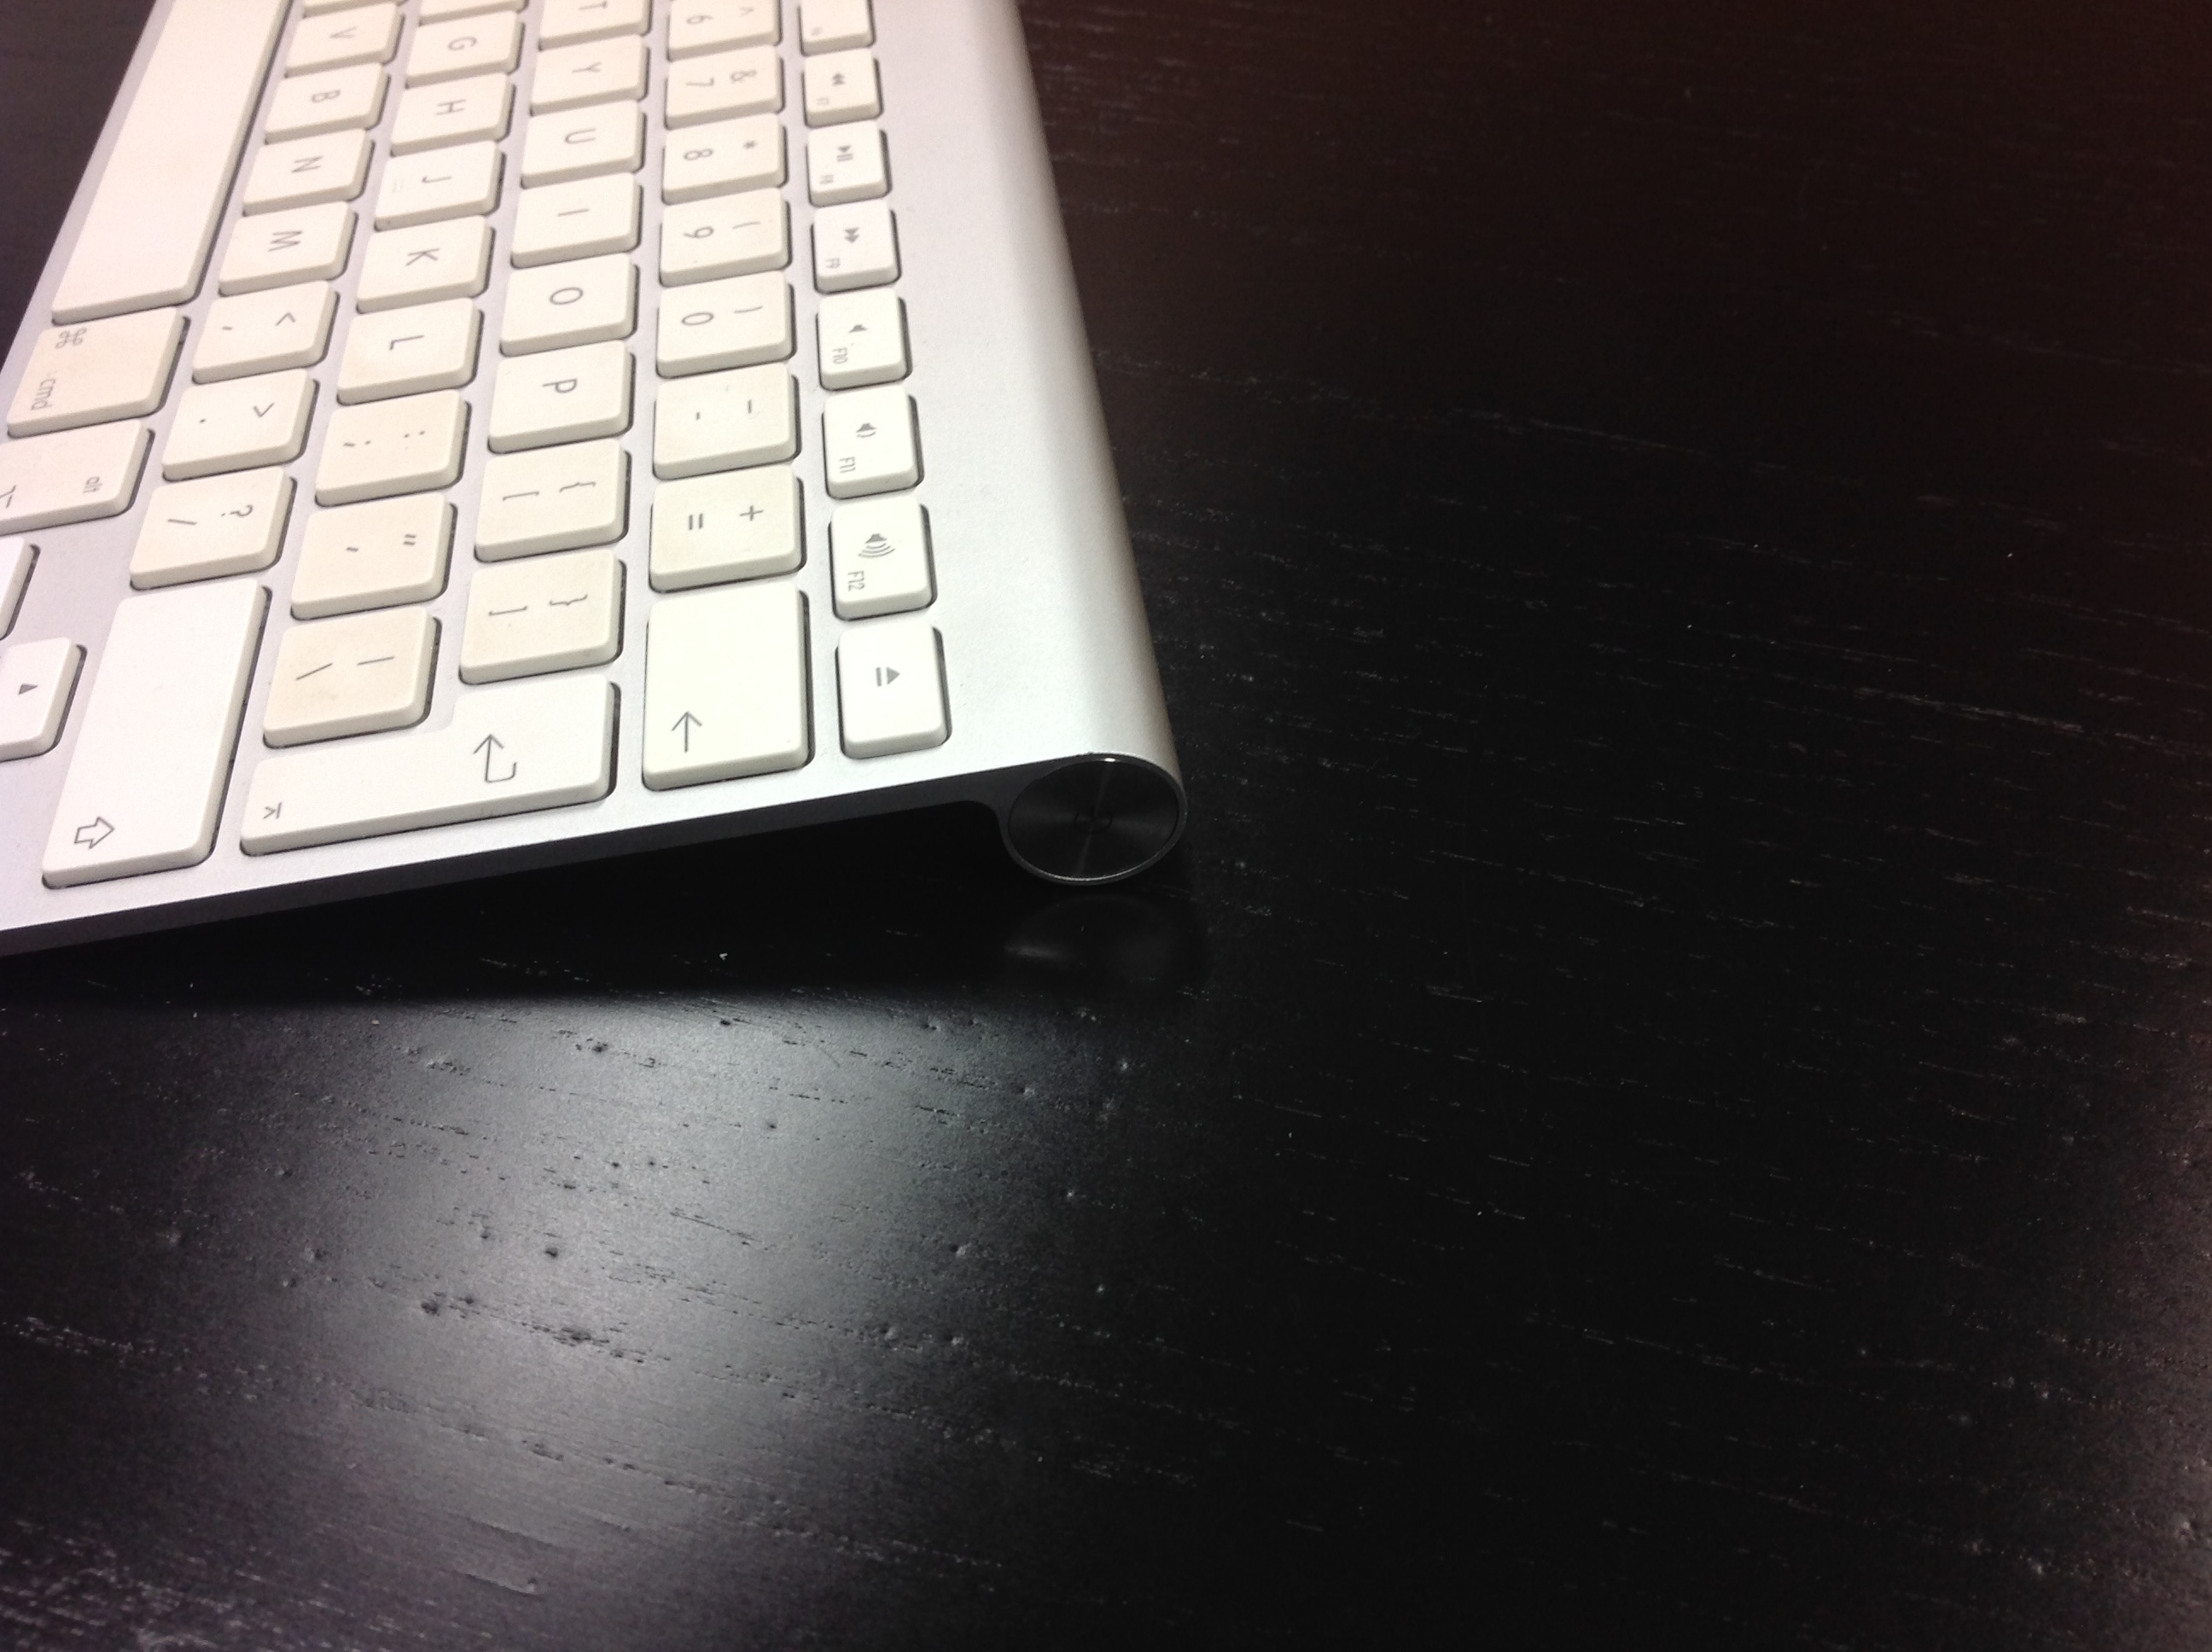
Pressing this button shortly (a control LED is lit) turns on the keyboard. After a short while, also the keyboard will be paired with the Mac mini.
Note: To improve responsiveness of mouse and keyboard, leave the front door of the VCS rack open (or the back door, whatever side points to mouse and keyboard.
On the Mac mini, you should see the login window similar to this:
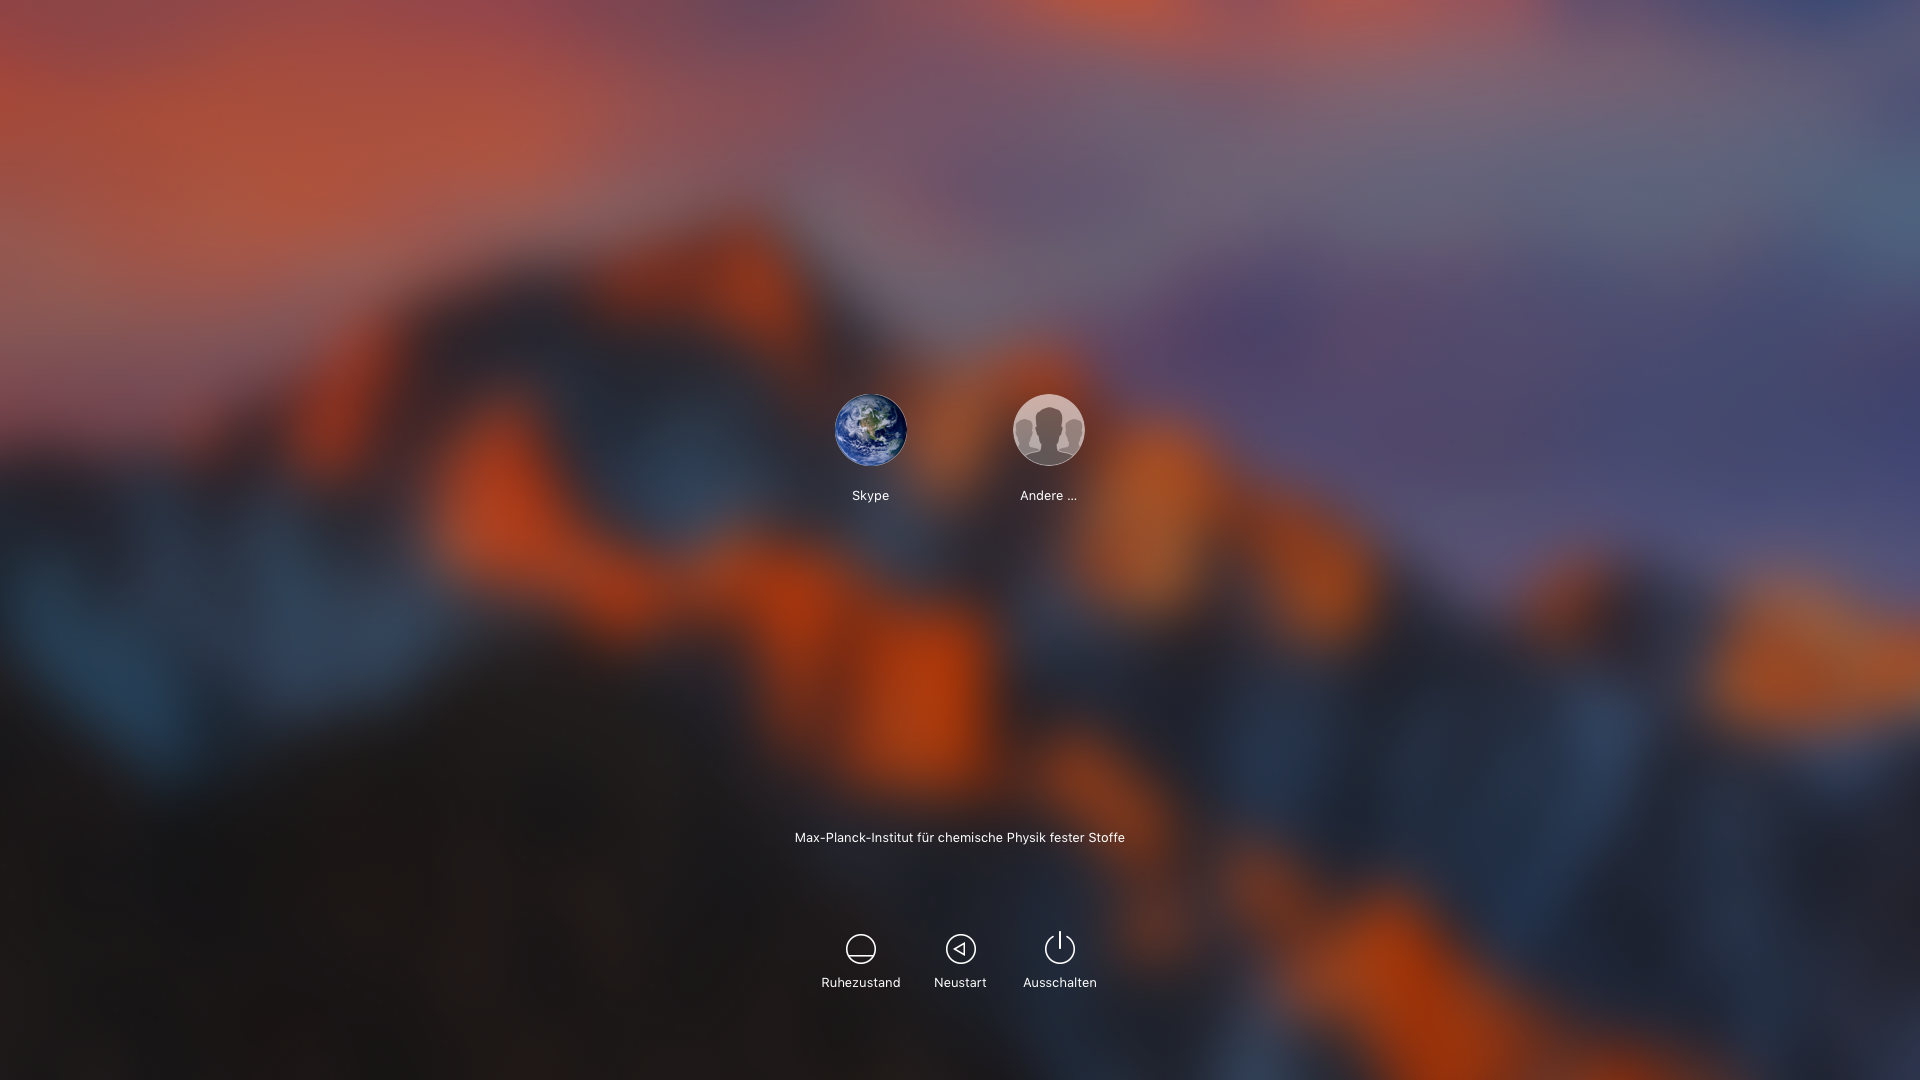
You can either log in to the special account named Skype or log in to your own account by clicking “Andere/Other” and then enter your usual username and password of the CPFS network.
If you wish to show documents from your network home folder, please mount it: In Finder, choose “Gehe zu/Go->Netzwerk/Network” (or press Command-Shift-K), double click on the cpfs.mpg.de sphere, double click onto the flsrv icon. If you are not connected automatically (which is the case if you are not using your own account), click “Verbinden/Connect”, enter your CPFS username and password to connect. You will be presented aith a list of network volumes. Depending on your username, either double-click onto “homes0” or “homes1”, then onto the folder with your username (which is your network home folder). The contents of this folder represents the drive “H:” you are familiar with when using a PC.
Logging in to the Skype account will start Skype automatically. You will be presented with the familiar log in dialog like this

Note that Skype is configured such that it does not remember your password. Therefore, type your Skype username followed by the Return key, then type your password to log in.
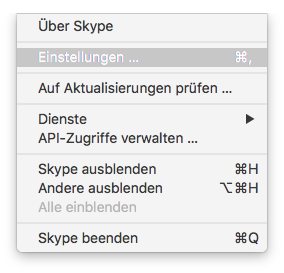
You might want to check audio and video signal. To do that, choose Skype->Einstellungen/Settings (or press Command-,)
then click the Aido/Video icon in the toolbar.Make sure the settings are as displayed. You should see a mirrored image of the VCS camera.
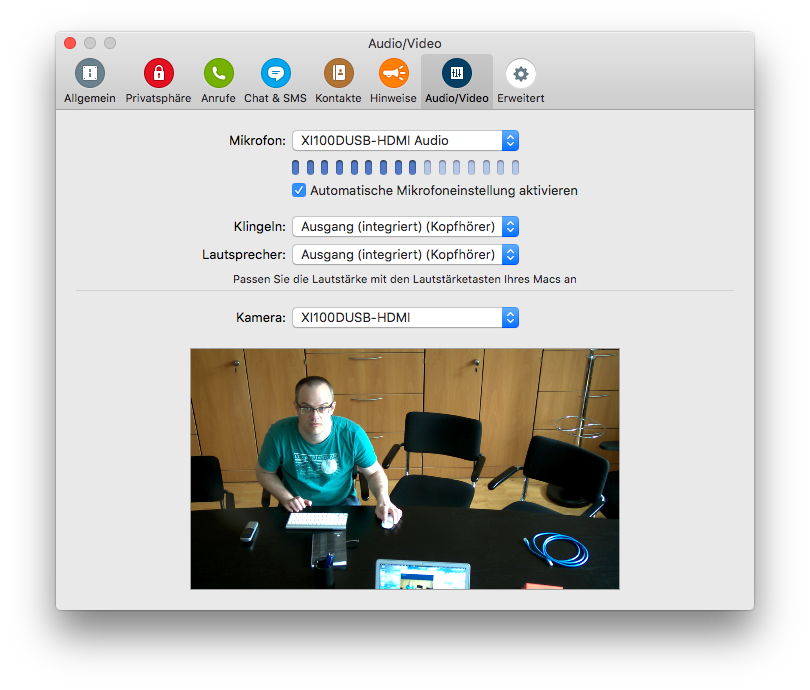
Also verify that an audio signal is present (indicated by the dark blue fields). Close the window by clicking the red button at the top left of it and start skyping.
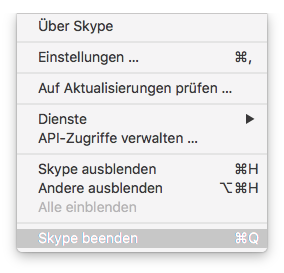
When done, choose Skype->Beenden/Quit
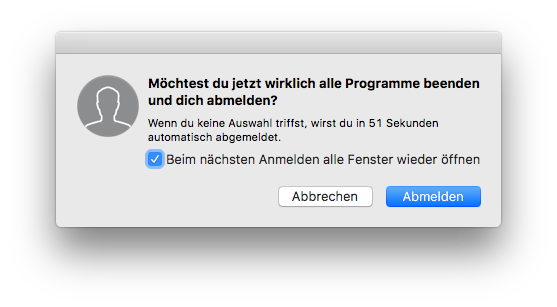
and log out by choosing “Abmelden/Log out” from the Apple menu.
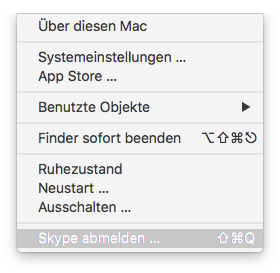
Confirm this.
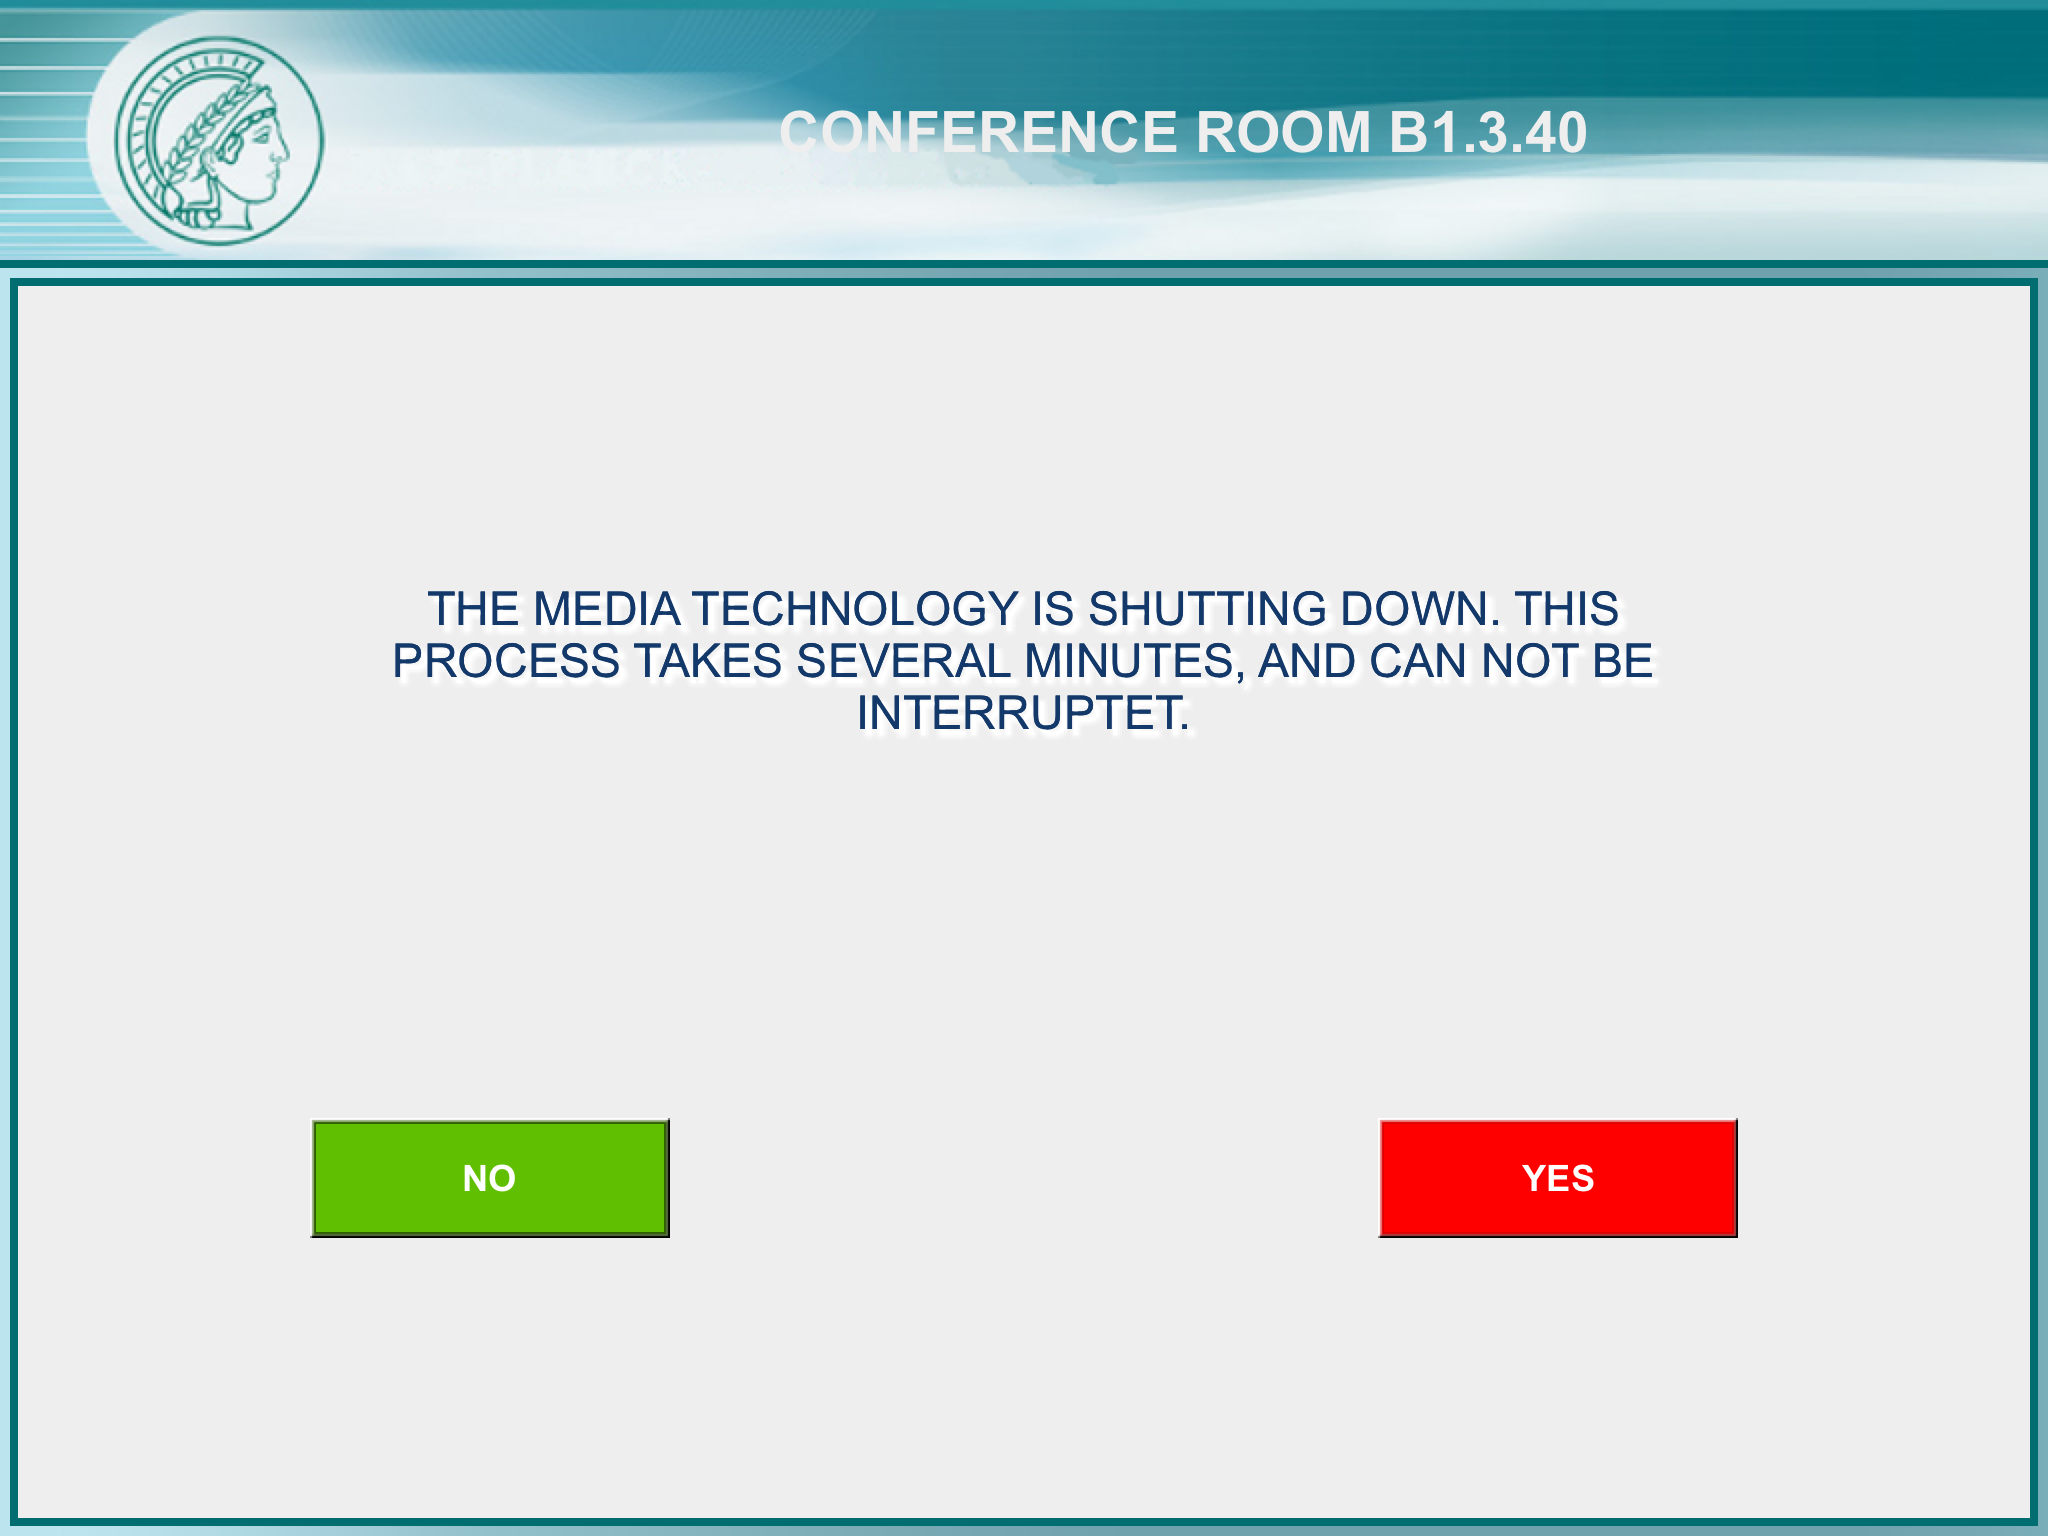
As a last step, turn off the mouse using the slider on the back and turn off the keyboard by pressing and holding the on/off button for a couple of seconds until the control LED turns off. Return both items into the drawer, push it back, close the door(s) of the VCS rack and press the red “Shut down system” button of the iPad control panel. Confirm this by pressing the red “yes” button in the followup dialog.
Important last step: After the VCS is shut down, press the Home button of the iPad and make sure it is attached to one of the USB charging sockets. When the battery of the iPad is drained, there is (almost) no chance to operate the VCS.