Prerequisites
On this page, I describe how to use Cisco’s AnyConnect Secure Mobility Client or Secure Client to establish an encrypted (VPN) connection between your Macintosh and the institute’s network.
Surely you will want to test this: Please note that establishing a VPN connection only works from outside our institute’s network, for example from home, via the mobile phone network, or from the neighboring institute.
The required client software is available from the IT service page. If requested, log in with your MPI CPFS username and password. Second, go to our IT service and request to be added to the VPN users group. You will have to sign a corresponding form.
If you happen to have a Macintosh computer with an older version of the operating system, contact me for vintage VPN clients.
Turn off iCloud Private Relay
Presumably you have configured an Apple ID on your Mac and use iCloud services. One of these is called iCloud Private Relay and can protect your privacy when surfing the Web. However Cisco’s VPN client is incompatible with it. A symptom of this is that iCloud services tend to be painfully slow, some websites don’t load correctly, independent of whether a Cisco VPN connection is active or not. The installed Cisco VPN client software alone is sufficient.
To turn off iCloud Private Relay before installing Cisco’s VPN client, go to the AppleID control panel in System Settings, choose iCloud, click on Private Relay. In the upcoming modal dialog make sure that Private Relay is inactive, if necessary by clicking the «Deactivate …» button in the top right corner. If you already installed the VPN client, use the uninstall tool located in the same folder as the VPN client and start over.
Installing the client software
Open the installation disk image as usual, then double-click onto the AnyConnect.pkg installation package and accept the license agreement. Continue and make sure to deselect all but the VPN module in the list of installation objects, like here:
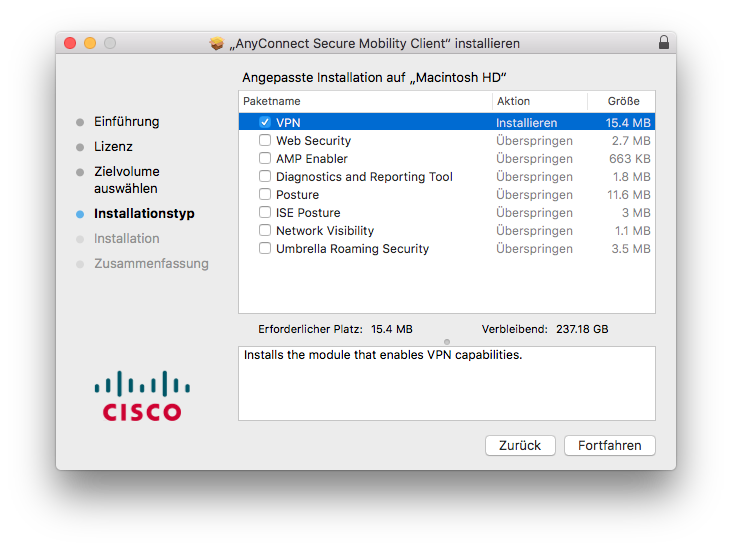
Continue the installation as usual. As soon as this is finished, quit the installer and eject the disk image.
Don’t allow Cisco’s system extension
You presumably will be asked to permit Cisco’s system extension to be loaded. Do not allow this, the extension is unneeded and, if enabled, often uses 100 % CPU time, draining the battery of your MacBook as fast as it can.
Remove Cisco’s system extension
You may also uninstall Cisco’s system extension. Run
The output should be something similar to this:
1 extension(s)
--- com.apple.system_extension.network_extension
enabled	active	teamID	bundleID (version)	name	[state]
	*	DE8Y96K9QP	com.cisco.anyconnect.macos.acsockext (4.10.03104/4.10.03104)	Cisco AnyConnect Socket Filter Extension	[activated waiting for user]
[the demo Mac doesn’t have any other system extensions installed]. See the TEAMID com.cisco.anyconnect.macos.acsockext? Then run
systemextensionsctl uninstall TEAMID com.cisco.anyconnect.macos.acsockext
to remove the extension. You might get the reply
At this time, this tool cannot be used if System Integrity Protection is enabled.
This limitation will be removed in the near future.
Please remember to re-enable System Integrity Protection!
In this case do not disable System Integrity Protection, but be patient instead. I will update this page as soon as the near future turns into the near past.
Permit local LAN access
By default, if a VPN connection is active, access to local LAN is impossible, meaning you are unable to use devices like local printers or other local network services. To check this, open a VPN connection (see below), and click onto the little AnyConnect menu icon and choose Show Statistics Window like here 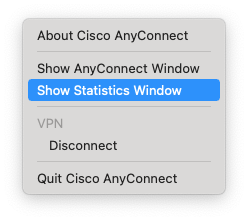 Click
Click VPN at the top right of the title bar, then choose the Route Details panel. If it looks like this 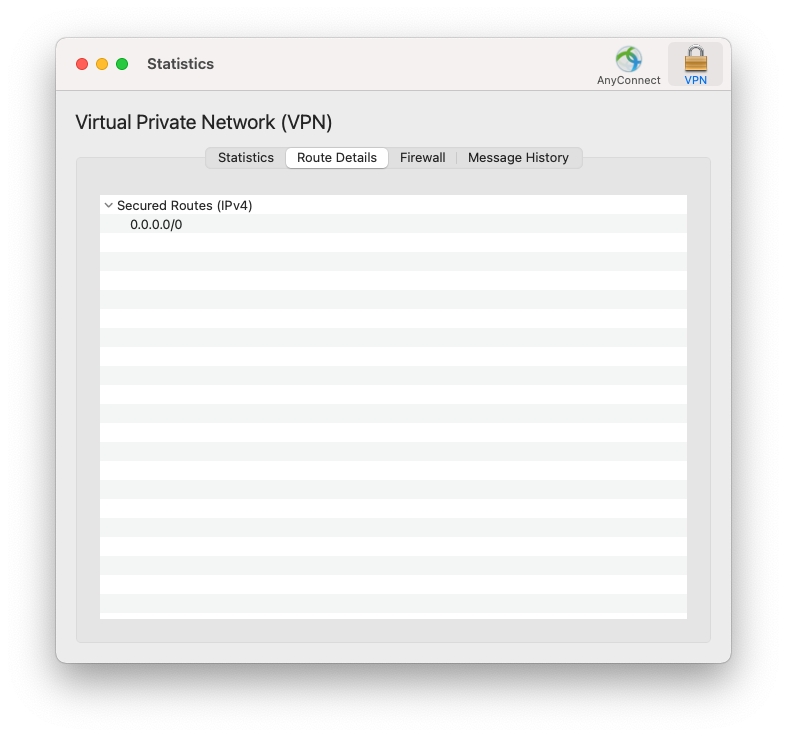 that means all network traffic is routed through the VPN connection.
To change that, terminate any active VPN connection. open Terminal and
sudo -icd /opt/cisco/anyconnectcp -ip AnyConnectLocalPolicy.xml AnyConnectLocalPolicy.xml.sav- use
nano or vi to edit AnyConnectLocalPolicy.xml and change the line <BypassDownloader>false</BypassDownloader> to <BypassDownloader>true</BypassDownloader>
cd profilecp -ip AnyConnectProfile.xsd AnyConnectProfile.xsd.sav- edit
AnyConnectProfile.xsd and change the line <xs:element name="LocalLanAccess" default="false" minOccurs="0"> to <xs:element name="LocalLanAccess" default="true" minOccurs="0">
cd mgmttuncp -ip AnyConnectProfile.xsd AnyConnectProfile.xsd.sav- edit
AnyConnectProfile.xsd also here and change the line <xs:element name="LocalLanAccess" default="false" minOccurs="0"> to <xs:element name="LocalLanAccess" default="true" minOccurs="0">
Open Cisco AnyConnect. Make sure Allow local (LAN) access when using VPN (if configured) in the Preferences window is checked and open a VPN connection again. The Route Details panel should now distinguish between local networks and remote networks. In my case, it looks like this 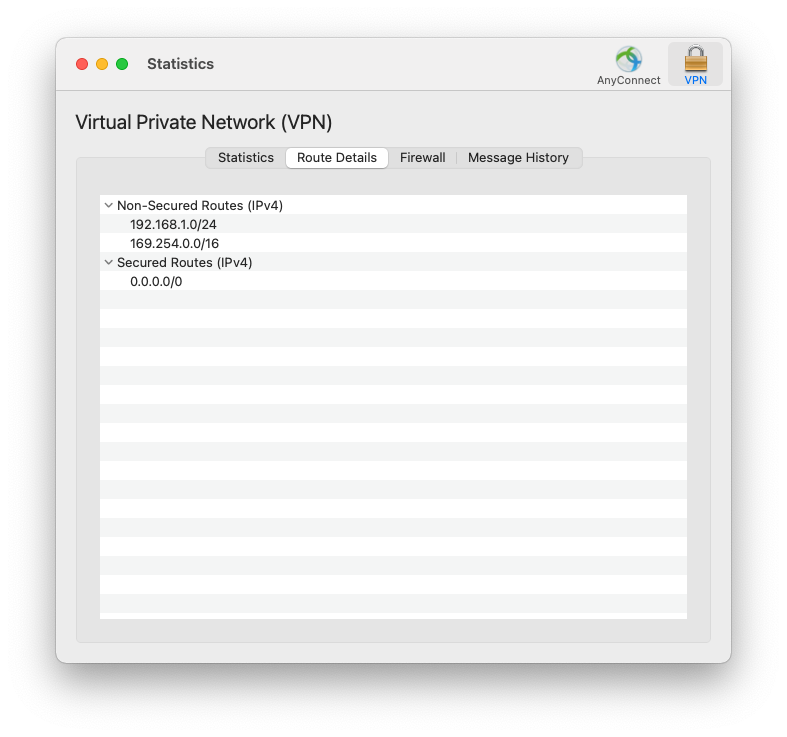 .
.
Usage
In Finder, choose Go->Applications (or press ⇧⌘A), then open the folder named Cisco and open the Cisco AnyConnect Secure Mobility Client app. It will present you a minimal window like this

In the text field, type our VPN concentrator’s hostname which is gatevlan13.cpfs.mpg.de. Then click Connect or press the return key. A few seconds later, you will be asked for your username and password in this manner:
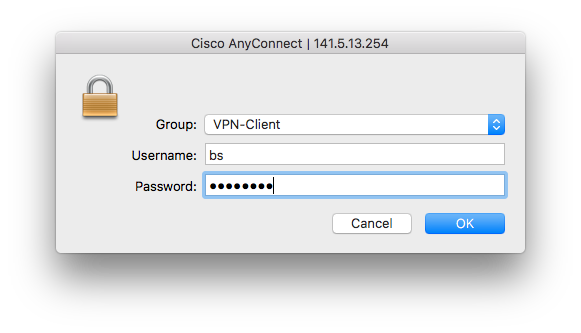
After clicking OK or pressing the return key, a VPN connection will be established, indicated by the closed lock in the Dock symbol of the VPN app.
To end a VPN connection, go to Cisco AnyConnect Secure Mobility Client and click Disconnect or choose Disconnect from the little VPN menu on the right side of the menu bar.